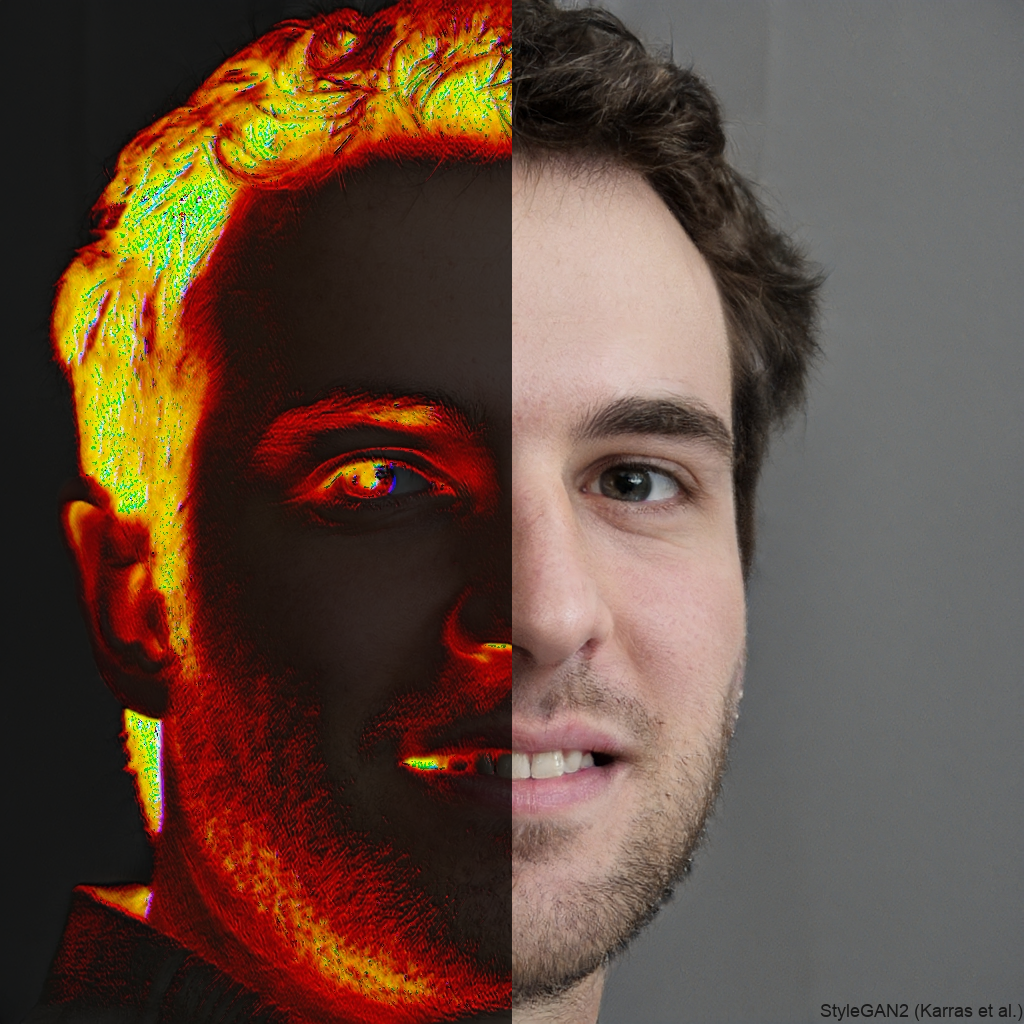
# Convolutional Art: How AI Sees the World
In this article I will be explaining how modern Artificial Intelligence can extrapolate information from 2 dimensional imagery. This article will include accompanying code throughout, but if you just want the code without the explanation, check out the repository on GitHub.
To begin, we need to take a trip through the history of Deep Learning. Throughout most of its existence, Deep Learning has been more of a novelty which didn't have any use in the real world. However, in the late 2000s to early 2010s, several breakthroughs were made regarding Deep Learning, specifically computer vision.
## The History
In 2012, a computer vision algorithm named AlexNet took the Deep Learning community by storm, when it achieved a 10% improvement over traditional Deep Neural Networks on the ImageNet Large Scale Visual Recognition Challenge.
This was particularly impressive, because the model used no features (aspects used to predict) created by hand. Instead, all features were learned by the Neural Network during training. Instead, the model used convolutional filters to extract specific information from the image.
## The Convolution
So now we have the history out of the way. As a reader, you might be wondering what a convolution is. I will briefly explain what a convolution is, but for further reading, I recommend [this article](https://betterexplained.com/articles/intuitive-convolution/).
Basically, a convolution measures the **overlap** between two functions, the operation, although more complex than traditional arithmetic operations, is not particularly difficult. For this example I will be using the example of 2 dimensional matrices, since that is used most commonly for Deep Learning.

In this explanation from a paper, an image with corresponding values for each pixel, is multiplied by a (usually smaller) kernel, which "walks" across the image one pixel at a time (or more depending on the stride). The kernel that the image is multiplied with determines what kind of features will be output at the end.
This is easy to say with words, but how can it be implemented? Well here comes the coding portion of this article, the code is not particularly complex, but it's important to pay attention to the details so that you don't get lost. In this code example, I am using a Jupyter Notebook, so I would recommend following along with a Jupyter Notebook.
```
# Import Dependencies
import numpy as np
import matplotlib.pyplot as plt
import cv2
```
We will need to first load an image, the size of the image does not matter. The image needs to be in a format that can be read by matplotlib or cv2 (so no webp).
`image = plt.imread('exampleimg.jpg')`
We will also need to isolate each layer of the image, because each color image is made up of three channels (red, green, blue).
```
r_chan = image[:, :, 0]
g_chan = image[:, :, 1]
b_chan = image[:, :, 2]
```
In this first example we will be using a normal Sobel filter, which is often used to measure strong changes in the first derivative of an image (aka edge detection). We will need to process each channel one at a time, although we could do this for each channel, the combine them into one color image, we will be doing that later in this tutorial.
```
sobel_img = cv2.Sobel(g_chan, cv2.CV_64F, 1, 0, ksize=3) # a 3x3 kernel
plt.imshow(sobel_img, cmap='binary')
```
This provides a grayish image that detects the edges in the image. Such a kernel would also be used by a CNN (Convolutional Neural Network) to process the shapes of objects within an image. At this point, we are effectively applying filters to images to extrapolate information, roughly in the same fashion that a Neural Network would. Next we will be applying a function to all 3 channels, and combining them to create true computer vision.
```
# Create a function to process RGB images with Convolutional Kernels
def conv_art(image, r_k, g_k, b_k):
r_chan = image[:, :, 0]
g_chan = image[:, :, 1]
b_chan = image[:, :, 2]
r_chan_filtered = cv2.filter2D(r_chan, -1, r_k) * 255 # Bring the value from 0-1 to 0-255
g_chan_filtered = cv2.filter2D(g_chan, -1, g_k) * 255
b_chan_filtered = cv2.filter2D(b_chan, -1, b_k) * 255
full_img = np.array([r_chan_filtered, g_chan_filtered, b_chan_filtered], dtype="int").transpose(1, 2, 0)
return full_img
```
Now we need to choose the convolutional kernels that we process the image with. Initially I tested using traditional kernels with known characteristics, but I thought it was too boring. In this article, we will be randomly generating kernels using np.random.randn.
In Convolutional Neural Networks, the values within the kernel matrix are modified by the network itself. However, the dimensions of the kernel (aka NxN) are chosen by the practitioner. Usually, kernels no smaller than 3x3, and no larger than 7x7 are used in CNNs. We will be choosing dimensions within that range, but feel free to experiment.
```
red_kernel = np.random.randn(5, 5)
green_kernel = np.random.randn(5, 5)
blue_kernel = np.random.randn(5, 5)
filtered_image = conv_art(image, r_k=red_kernel, g_k=green_kernel, b_k=blue_kernel)
plt.imshow(filtered_image)
```
And with that segment completed, we have successfully filtered images using the same technique that a Convolutional Neural Network would use to extrapolate details from imagery! I hope you enjoyed this article, if you could, feel free support me by subscribing to my Youtube Channel. I will be extending this topic and applying this technique to videos in a future article, so stay tuned.